版本號:Rtorrent 0.96 (with Rutorrent 3.8) 編譯 for Ubuntu 16.04
目前 Rtorrent 已經出了 0.97 版本並對應 Libttorrent 0.13.7 版本,Git Server 的版本也 update 為最新版本,第二個盒子加拿大機房的 KimSufi KS3C ,之前裝 Ubuntu 16.04 TLS還是 0.96 的 Rtorrent
使用了一段時間感覺還是蠻穩的,因此放上 0.96 版本的教學方便以後留存使用
1.安裝環境,請先切換具有 root 權限的 sudo 使用者
1 2 | apt-get update apt-get install git build-essential automake libcppunit-dev libtool zlib1g-dev gawk libsigc++-2.0-dev libssl-dev libncurses5-dev libncursesw5-dev libcurl4-openssl-dev libxmlrpc-c++8-dev screen unzip |
2.安裝一些後續在執行程式 or Rutorrent 插件會使用到的軟體
1 | apt-get install mediainfo libav-tools unrar sox curl |
3.下載並編譯 libtorrent 0.13.6
1 2 3 4 5 6 7 8 | git clone https://github.com/rakshasa/libtorrent.git cd libtorrent/ git checkout origin/feature-bind git checkout 9eb9ba2 ./autogen.sh ./configure --disable-debug make make install |
4.下載並編譯 rtorrent 0.9.6
1 2 3 4 5 6 7 8 9 | ldconfig git clone https://github.com/rakshasa/rtorrent.git cd rtorrent/ git checkout origin/feature-bind git checkout b088c1c ./autogen.sh ./configure --with-xmlrpc-c --with-ncurses --enable-ipv6 --disable-debug make make install |
5.設定 .rtorrent.rc 文件
1 | vi ~/.rtorrent.rc |
** 可參考我的設定,預設相關目錄指定路徑為 home user 裡的 Downloads 資料夾
(##….##的內容為設定說明,請勿也寫入設定檔內)
1 2 3 4 5 6 7 8 9 10 11 12 13 14 15 16 17 18 19 20 21 22 23 24 25 26 | directory = /home/user/Downloads ## 預設下載目錄,可自行設定想存放位置 ## session = /home/user/Downloads/.sessions ## 可自行設定想存放位置 ## schedule = watch_dir,5,5,"load.start=/home/user/Downloads/torrents/*.torrent, d.directory.set=/home/user/Downloads/incoming" ## 可自行指定想存放位置 ## schedule = untied_directory,5,5,stop_untied= schedule = untied_directory,5,5,close_untied= schedule = untied_directory,5,5,remove_untied= schedule = tied_directory,5,5,start_tied= schedule = low_diskspace,10,30,close_low_diskspace=100M throttle.min_peers.normal.set = 50 ## 總體最小peer連接數 ## throttle.max_peers.normal.set = 500 ## 總體最大peer連接數 ## throttle.global_down.max_rate.set_kb = 0 ## 總體下載限速,0為不限速 ## throttle.global_up.max_rate.set_kb = 0 ## 總體上傳限速,0為不限速 ## dht.mode.set = disable protocol.pex.set = no ## 關閉使用者交換 ## port_range = 58888-58888 ## 可設定想用的port ## port_random = no encryption = allow_incoming,try_outgoing,enable_retry dht = off check_hash = no encoding_list = UTF-8 scgi_port = 127.0.0.1:5000 ip = 0.0.0.0 network.http.ssl_verify_peer.set = 0 ## 可解決tracker使用https報錯的問題 ## |
6.建立設定檔裡面相關資料夾並給予權限
1 2 3 4 5 | mkdir /home/user/Downloads mkdir /home/user/Downloads/.sessions mkdir /home/user/Downloads/incoming mkdir /home/user/Downloads/torrents chown -R *sudo user* /home/user/Downloads |
7.透過 screen 執行 rtorrent 是否成功
1 2 | screen -S rt /usr/local/bin/rtorrent |
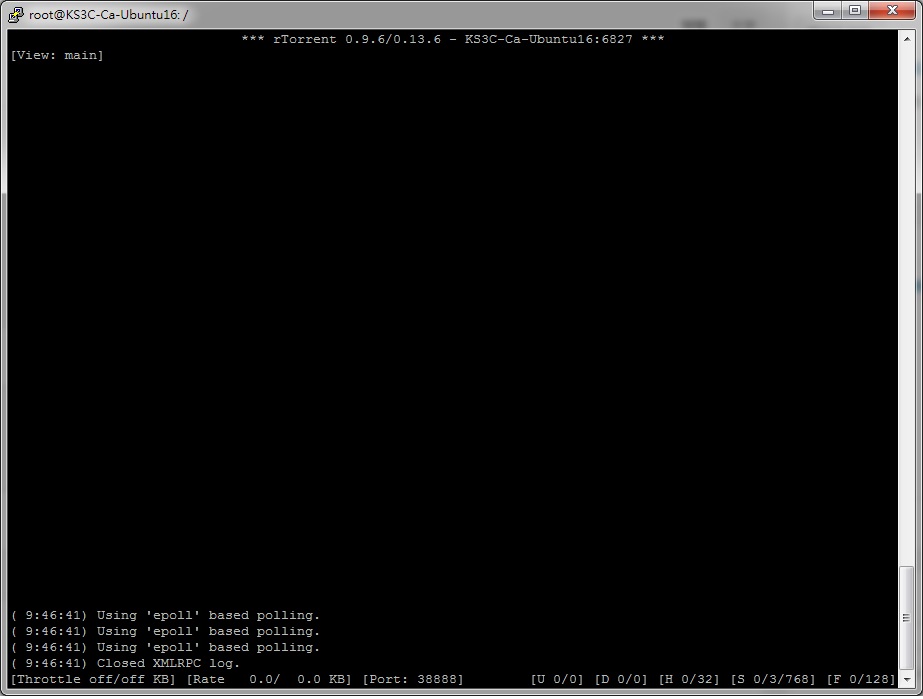
若看到以下畫面,代表 rtorrent 成功執行
結束可按 Ctrl+A再按Q跳回Screen主畫面,再輸入exit關閉Screen
回到原始主畫面繼續進行後面的步驟
8.安裝 Nginx + PHP 7.0 + Apache Utils
1 | apt-get install nginx-full php-fpm apache2-utils php7.0-cgi php7.0-cli |
9.將預設網頁設定 cancel 掉,建立新的設定檔
1 2 3 4 5 6 7 8 9 10 11 12 13 14 15 16 17 18 19 20 21 22 23 24 25 26 27 28 29 30 31 32 33 34 35 | rm /etc/nginx/sites-enabled/default touch /etc/nginx/sites-available/rutorrent.conf ln -s /etc/nginx/sites-available/rutorrent.conf /etc/nginx/sites-enabled/000-rutorrent.conf vi /etc/nginx/sites-available/rutorrent.conf ## 貼入以下內容 ## server { server_name _; root /var/www/html/rt; index index.html; location / { auth_basic "PW Rutorrent"; auth_basic_user_file /etc/nginx/htpasswd; try_files $uri $uri/ =404; } location /RPC2 { scgi_pass 127.0.0.1:5000; include scgi_params; scgi_param SCRIPT_NAME /RPC2; } location ~ \.php$ { try_files $uri =404; fastcgi_pass 127.0.0.1:9000; fastcgi_split_path_info ^(.+\.php)(/.+)$; fastcgi_index index.php; fastcgi_param SCRIPT_FILENAME $document_root$fastcgi_script_name; include fastcgi_params; } } |
10.設定 HTTP Basic Authentication
1 | htpasswd -c /etc/nginx/htpasswd user ## user請填入你想用來網頁認證的使用者,並給予密碼 ## |
11.設定 PHP-FPM 7.0
1 2 3 4 5 6 | vi /etc/php/7.0/fpm/pool.d/www.conf 將 user = www-data 改成你的 user group = www-data 改成你的 user listen = /run/php/php7.0-fpm.sock 改成listen = 127.0.0.1:9000 |
12.安裝 PHP-Geoip 並更新 GeoIP.dat
1 2 3 4 5 6 | echo "extension=geoip.so" >> /etc/php/7.0/fpm/php.ini rm /usr/share/GeoIP/GeoIP.dat cd /usr/share/GeoIP wget http://geolite.maxmind.com/download/geoip/database/GeoLiteCountry/GeoIP.dat.gz gunzip GeoIP.dat.gz apt-get install php-geoip |
13.重啟 Nginx & PHP-FPM7.0 套用新的設定
1 2 | systemctl restart nginx.service systemctl restart php7.0-fpm.service |
14.下載 Rutorrent 3.8 並移動到網頁伺服器目錄
1 2 3 | wget https://github.com/Novik/ruTorrent/archive/master.zip unzip master.zip mv ruTorrent-master /var/www/html/rt |
15.設定 systemd Rtorrent Server
1 2 3 4 5 6 7 8 9 10 11 12 13 14 15 | vi /etc/systemd/system/rtorrent.service ## 貼入以下內容 ## [Unit] Description=rtorrent After=network.target [Service] User=root Type=forking ExecStart=/usr/bin/screen -d -m -S rutorrent /usr/local/bin/rtorrent -n -o import=/root/.rtorrent.rc ExecStop=/usr/bin/screen -S rutorrent -X quit [Install] WantedBy=multi-user.target |
16.再次啟動 Rtorrent 並設定開機啟動
1 2 3 | systemctl daemon-reload systemctl start rtorrent.service systemctl enable rtorrent.service |
17.設定 Rutorrent 相關 plugin權限
1 | chown -R 你的user /var/www/html/rt/share |
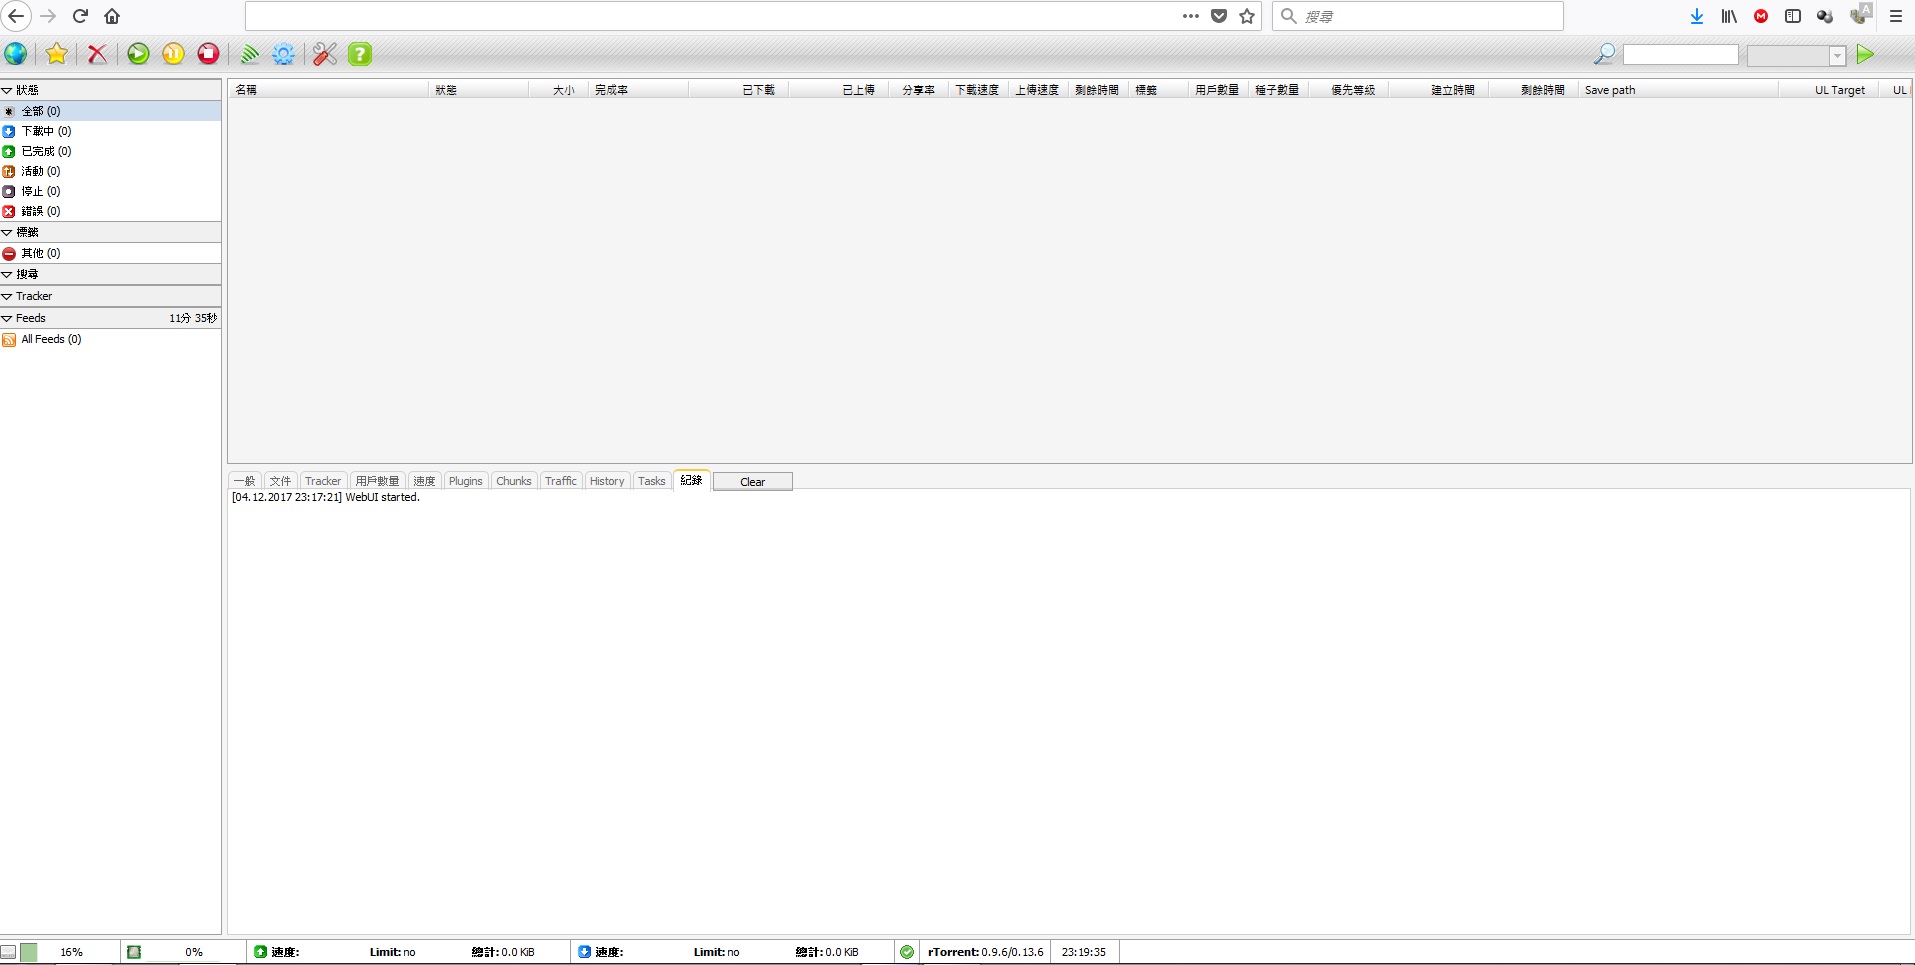
18.透過 Web 登入 Rutorrent ( WebUI )
1 | http://你的ip/ |
** 如有設定防火牆,請先開啟 Port 80 (TCP) & Rt 裡面設定使用的 Port (TCP/UDP)
** 第一次執行 Plugin 緩存會跳出許多錯誤,等待 10-20 秒後 F5 重新整理網頁,錯誤就會全部修正就能正常執行,詳見下圖

