此篇教學為 Transmission 2.92 ~ 2.94 編譯 for Centos 7
可自行編譯想要的版本號
有玩過 BT 或 PT 的 Linux 環境使用者,大部份都知道 Transmission 這個熱門的客戶端
不僅僅 Synology 的 Download Station 是基於 2.84 的核心下去開發出來的
更是 mac os 預設的客戶端,也因為大部份的 PT 站點都支援此客戶端
除了 utorrent 以外,Transmission 也常在 peer list 常常出現,可見其熱門程度
之前已經有一台 Online 法國 DC2 機房的獨立主機拿來跑 Ubuntu 16.04 TLS
最近在黑五又敗了一台 Kimsufi 加拿大機房的獨立主機
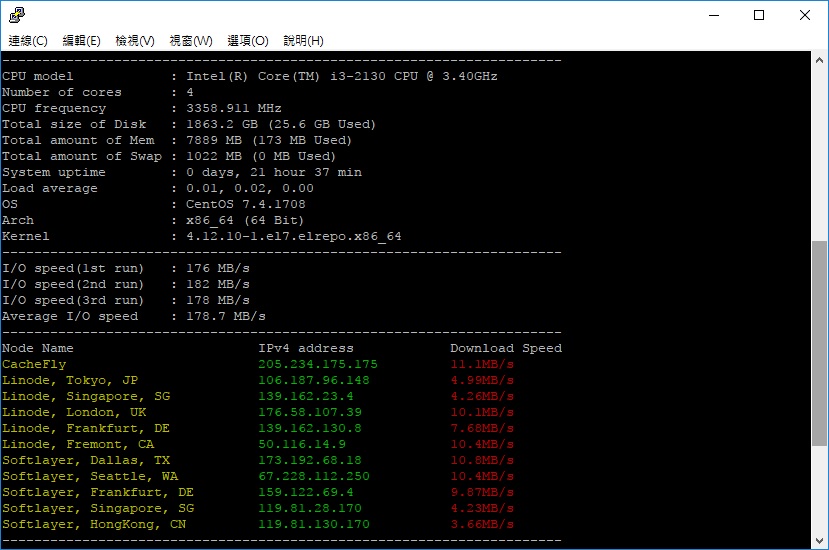
I3-2130 8G ram 2T HDD 扣掉首月設定費不算,每個月大約 $10.82 美金
感覺蠻有 CP值的,唯一的缺點大概就是只有 100 mbps 的網速

安裝了比較少碰的 Centos 7
對以前都走 Debian 系列的我而言 (Debian 7 / 8 、Ubuntu 14.04 / Ubuntu 16. 04、Debian Chroot)
Centos 像一個熟悉的陌生人
大部份的懶人跟我一樣,能 apt-get 或 yum 裝的話,就直接裝了省事
原本透過加 epel-release 源的方式來 yum install
後來發現此安裝方式會以 transmission 使用者執行,而不是家目錄下 sudo 的使用者
指定下載目錄就不能在 /home/user/Downloads,否則會出現 Permission denied 權限不足的問題
解決方法可以把下載預設路徑設在非 /home/user 底下的目錄
對於有強迫症的我而言,為了使用 ftp 拉回方便,vsftpd 預設在 /home/user下
再加上還有使用其它客戶端 qBittorrent、Rtorrent、Deluge 皆預設下載路徑在 /home/user/Downloads 裡
還不夠熟悉 Cetnos,試了幾個方法,把 transmission 加入 wheel sudo 跟 home sudo 群組或改以 home sudo user 執行
還是不能解決問題,最後只好 yum remove 掉改用源碼編譯的方式
=======================================
以下紀錄 Transmission Centos 7 源碼編譯 Transmissin 2.94 的心得以留存,方便以後有需要使用
1.準備環境,請先切換具有root權限的sudo使用者
1 2 3 | yum update yum groupinstall -y 'development tools' yum -y install gcc gcc-c++ m4 make automake libtool gettext openssl-devel libcurl-devel libevent-devel intltool gtk3-devel |
2.下載最新源碼 Transmission 2.94 並解壓縮 (2.92 & 2.93 版本請自行更換為 2.92.tar.xz or 2.93.tar.xz)
1 2 3 | wget https://github.com/transmission/transmission-releases/raw/master/transmission-2.94.tar.xz tar -xf transmission-2.94.tar.xz cd transmission-2.94/ |
3.配置 & 編譯 & 安裝
1 2 3 | ./configure make make install |
4.設定systemd Transmission-service
1 2 3 4 5 6 7 8 9 10 11 12 13 14 | vi /etc/systemd/system/transmission.service ## 貼入以下內容 ## [Unit] Description=Transmission BitTorrent Daemon After=network.target [Service] User=root LimitNOFILE=100000 ExecStart=/usr/local/bin/transmission-daemon -f --log-error -g /usr/local/share/transmission [Install] WantedBy=multi-user.target |
5.先執行一次生成初始設定檔,然後停止
1 2 3 | systemctl daemon-reload systemctl start transmission.service systemctl stop transmission.service |
6.修改settings.json設定 (可上github依照說明改成自己想要的設定)
1 | vi /usr/local/share/transmission/settings.json |
**可參考我個人的設定 (##….##的內容為設定說明,編輯設定檔時請勿一起寫入)
1 2 3 4 5 6 7 8 9 10 11 12 13 14 15 16 17 18 19 20 21 22 23 24 25 26 27 28 29 30 31 32 33 34 35 36 37 38 39 40 41 42 43 44 45 46 47 48 49 50 51 52 53 54 55 56 57 58 59 60 61 62 63 64 65 66 | { "alt-speed-down": 50, "alt-speed-enabled": false, "alt-speed-time-begin": 540, "alt-speed-time-day": 127, "alt-speed-time-enabled": false, "alt-speed-time-end": 1020, "alt-speed-up": 50, "bind-address-ipv4": "0.0.0.0", "bind-address-ipv6": "::", "blocklist-enabled": false, "blocklist-url": "http://www.example.com/blocklist", "cache-size-mb": 256, ## cache可依自己想要的大小修改 ## "dht-enabled": false, "download-dir": "/home/user/Downloads", ## 這邊請修改成自己預設的下載路徑 ## "download-queue-enabled": false, "download-queue-size": 5, "encryption": 1, "idle-seeding-limit": 30, "idle-seeding-limit-enabled": false, "incomplete-dir": "/home/user/Downloads", ## 當incomplete為false,可設成跟download-dir一樣的路徑 ## "incomplete-dir-enabled": false, "lpd-enabled": false, "message-level": 2, "peer-congestion-algorithm": "", "peer-id-ttl-hours": 6, "peer-limit-global": 800, ## 總peer最大連接數,可自行修改 ## "peer-limit-per-torrent": 100, ## 每一種子peer最大連接數 ## "peer-port": 5xxxx, ## port可自行修改成自己想使用的 ## "peer-port-random-high": 65535, ## 使用的port需在low~high的範圍內 ## "peer-port-random-low": 49152, "peer-port-random-on-start": false, "peer-socket-tos": "default", "pex-enabled": false, "port-forwarding-enabled": true, "preallocation": 1, "prefetch-enabled": true, "queue-stalled-enabled": false, "queue-stalled-minutes": 30, "ratio-limit": 2, "ratio-limit-enabled": false, "rename-partial-files": false, "rpc-authentication-required": true, ## 開啟網頁登入需要帳號密碼 ## "rpc-bind-address": "0.0.0.0", "rpc-enabled": true, "rpc-password": "登入使用的密碼", ## 直接輸入密碼,save後自動加密 ## "rpc-port": 9091, "rpc-url": "/transmission/", "rpc-username": "登入使用的帳號", ## 改成你想用來登入的帳號 ## "rpc-whitelist": "127.0.0.1", "rpc-whitelist-enabled": false, "scrape-paused-torrents-enabled": true, "script-torrent-done-enabled": false, "script-torrent-done-filename": "", "seed-queue-enabled": false, "seed-queue-size": 10, "speed-limit-down": 100, "speed-limit-down-enabled": false, "speed-limit-up": 100, "speed-limit-up-enabled": false, "start-added-torrents": true, "trash-original-torrent-files": false, "umask": 2, "upload-slots-per-torrent": 14, "utp-enabled": true } |
**修改完成後,再次啟動Transmission,並設定開機自啟動服務
1 2 | systemctl start transmission.service systemctl enable transmission.service |
7.檢查防火牆
1 | systemctl status firewalld |
若為開啟狀態,並需把使用Web Port 9091
例如前面設定檔使用的Port為 56789
1 2 3 | firewall-cmd --permanent --add-port=9091/tcp firewall-cmd --permanent --add-port=56789/tcp firewall-cmd --permanent --add-port=56789/udp |
重啟防火牆設定
1 | firewall-cmd --reload |
8.瀏覽器登入Transmission WebUI
**如無法正確開啟,請檢查防火牆是否開啟 Port 9091 (TCP) & settings.json裡面設定的Port(TCP/UDP),並檢查Selinux的權限
1 | http://你的IP:9091/ |
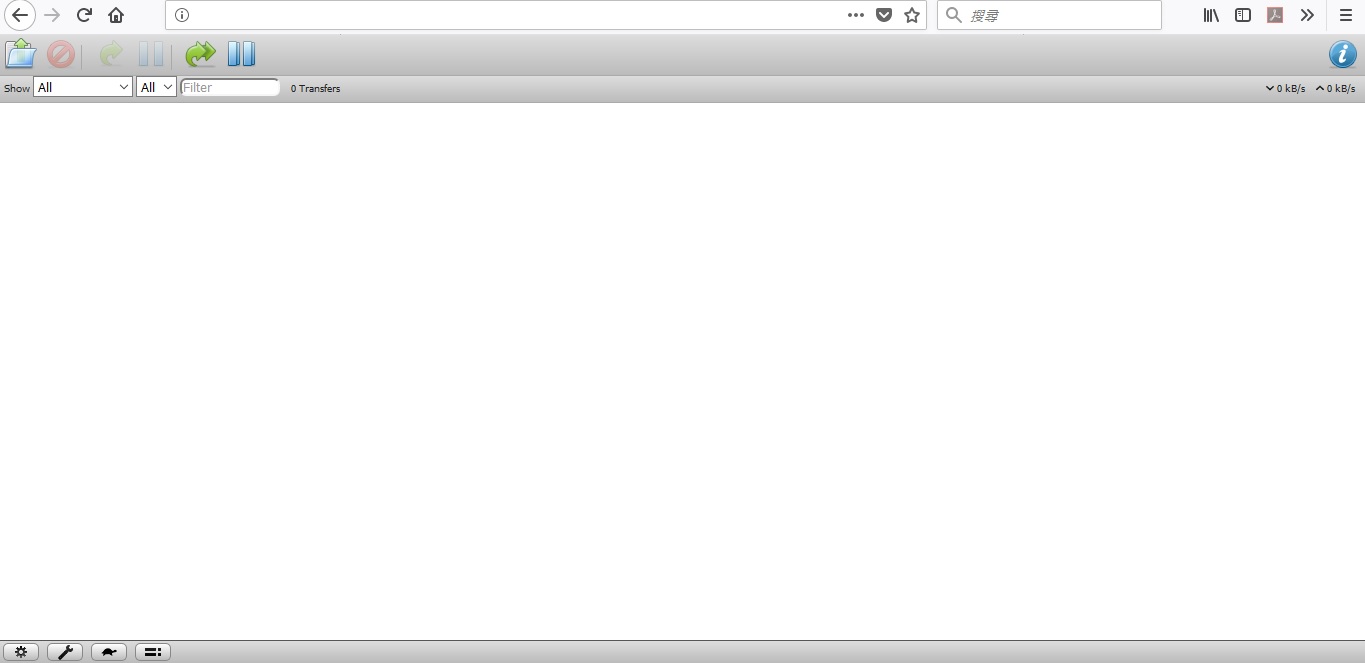
**成功啟動會出現以下畫面
